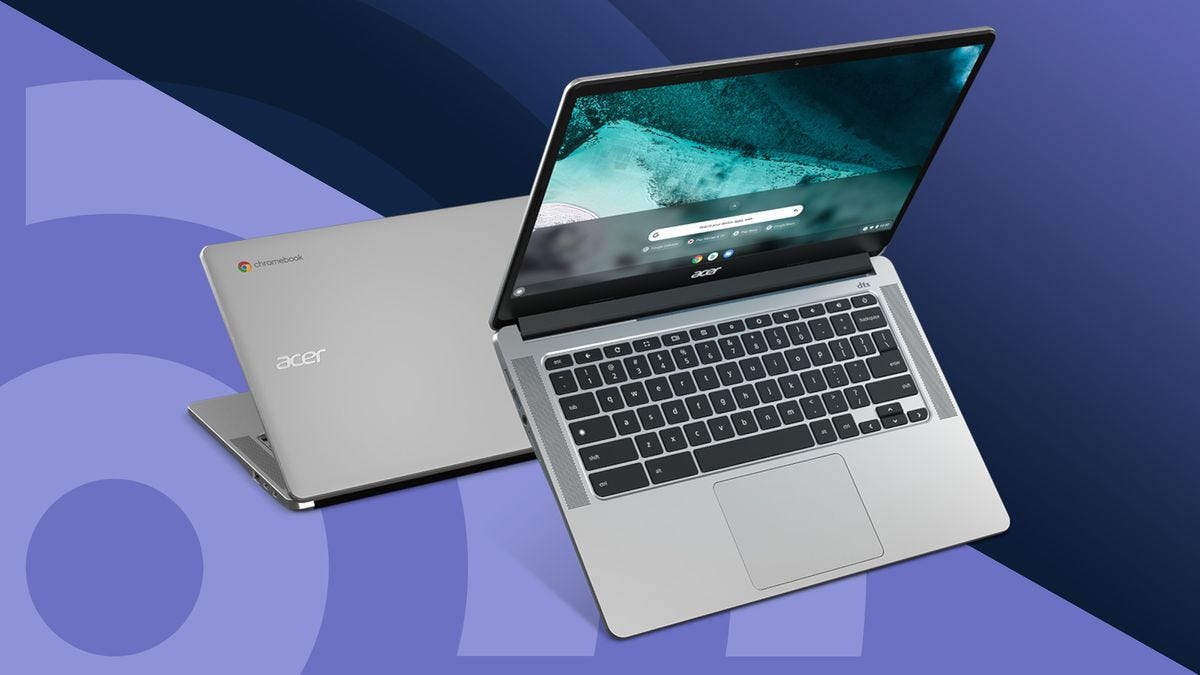
How to Screenshot on a Chromebook: Step-by-Step Guide for 2025
Learn the easiest ways to take, save, and manage screenshots on your Chromebook in seconds
Why Screenshotting on a Chromebook Is Useful
Screenshots are essential tools for students, professionals, and casual users alike. Whether you're saving a receipt, capturing a lesson, or sharing a funny meme, knowing how to take screenshots on a Chromebook makes your digital life easier and more efficient.
Full-Screen Screenshot Shortcut
To capture your entire screen instantly, press Ctrl + Show Windows (the Show Windows key looks like a rectangle with two vertical lines beside it). This takes a screenshot of everything on your screen and automatically saves it to your “Downloads” folder or appears in a preview at the bottom right of your screen.
Partial Screenshot Shortcut
If you only want to capture part of your screen, press Ctrl + Shift + Show Windows. Your cursor will turn into a crosshair. Simply click and drag to select the area you want to capture. When you release your mouse or touchpad, the screenshot will be taken and saved.
Screenshot Using Quick Settings Menu
Chromebooks also offer a built-in screenshot tool in the Quick Settings menu. Click the time on the bottom-right of your screen, then select Screen Capture. From there, you can choose between full screen, window, or partial screenshots — all without memorizing keyboard shortcuts.
How to Screenshot a Single Window
To capture just one window on your screen, open the window you want to capture, then press Ctrl + Alt + Show Windows. The cursor will become a camera icon, and you can click the window you want to save. This is useful when multitasking with several open windows.
Where to Find Your Screenshots
Screenshots are automatically saved in the “Downloads” folder on your Chromebook. You can access them by opening the Files app and navigating to the folder. You can also drag screenshots into Google Drive or attach them to emails directly from the Files app.
Editing Your Screenshots
After capturing a screenshot, click the thumbnail preview that appears in the lower-right corner. You’ll be able to crop, highlight, draw, or annotate your image using Chromebook’s built-in editor. These tools make it easy to mark up content for school projects or work presentations.
Using External Keyboards
If you're using an external keyboard that doesn't have a Show Windows key, press Ctrl + F5 for full screen, and Ctrl + Shift + F5 for partial screenshots. This ensures that screenshot functionality works even when using accessories like USB or Bluetooth keyboards.
Tips for Organizing and Sharing
Create folders inside your Files app to organize your screenshots by topic or date. Rename your files to keep track of them more easily. To share, right-click on the image, select “Share,” and choose email, Google Drive, or other connected apps for instant delivery.
Conclusion
Knowing how to screenshot on a Chromebook is a simple but powerful skill that enhances productivity and communication. With multiple built-in tools and intuitive shortcuts, capturing anything on your screen takes only a second. Whether for fun or function, Chromebook screenshots are quick, easy, and highly useful.


